What you will need:
- Glue gun
- Lace of choice or other ribbon/fabric you can wrap around the strap
- Bling or some type of decals
- scissors
- your personality

I have a huge collection of vintage lace so I just took out my stache but you can find any lace like ribbon at walmart or any crafting store in the fabric area.
My bling is from Hobby lobby they sell them in big tubs you can get colored or just plain and for this I just go plain but you can do whatever your little heart wants. I picked them up for like 8 bucks but they were on sale so they were pretty pricey so I suggest print off a coupon or look for them on sale.

Okay first of all you are going to need a camera strap I am just going to be using the one I already had on it because its boaring and needs some lizzyfied ness to it or something.
You want the strap bare so I took this awkard squishy thing off so if you are buying a strap get the most basic one. Just like if you were a painter you would want a blank canvas.

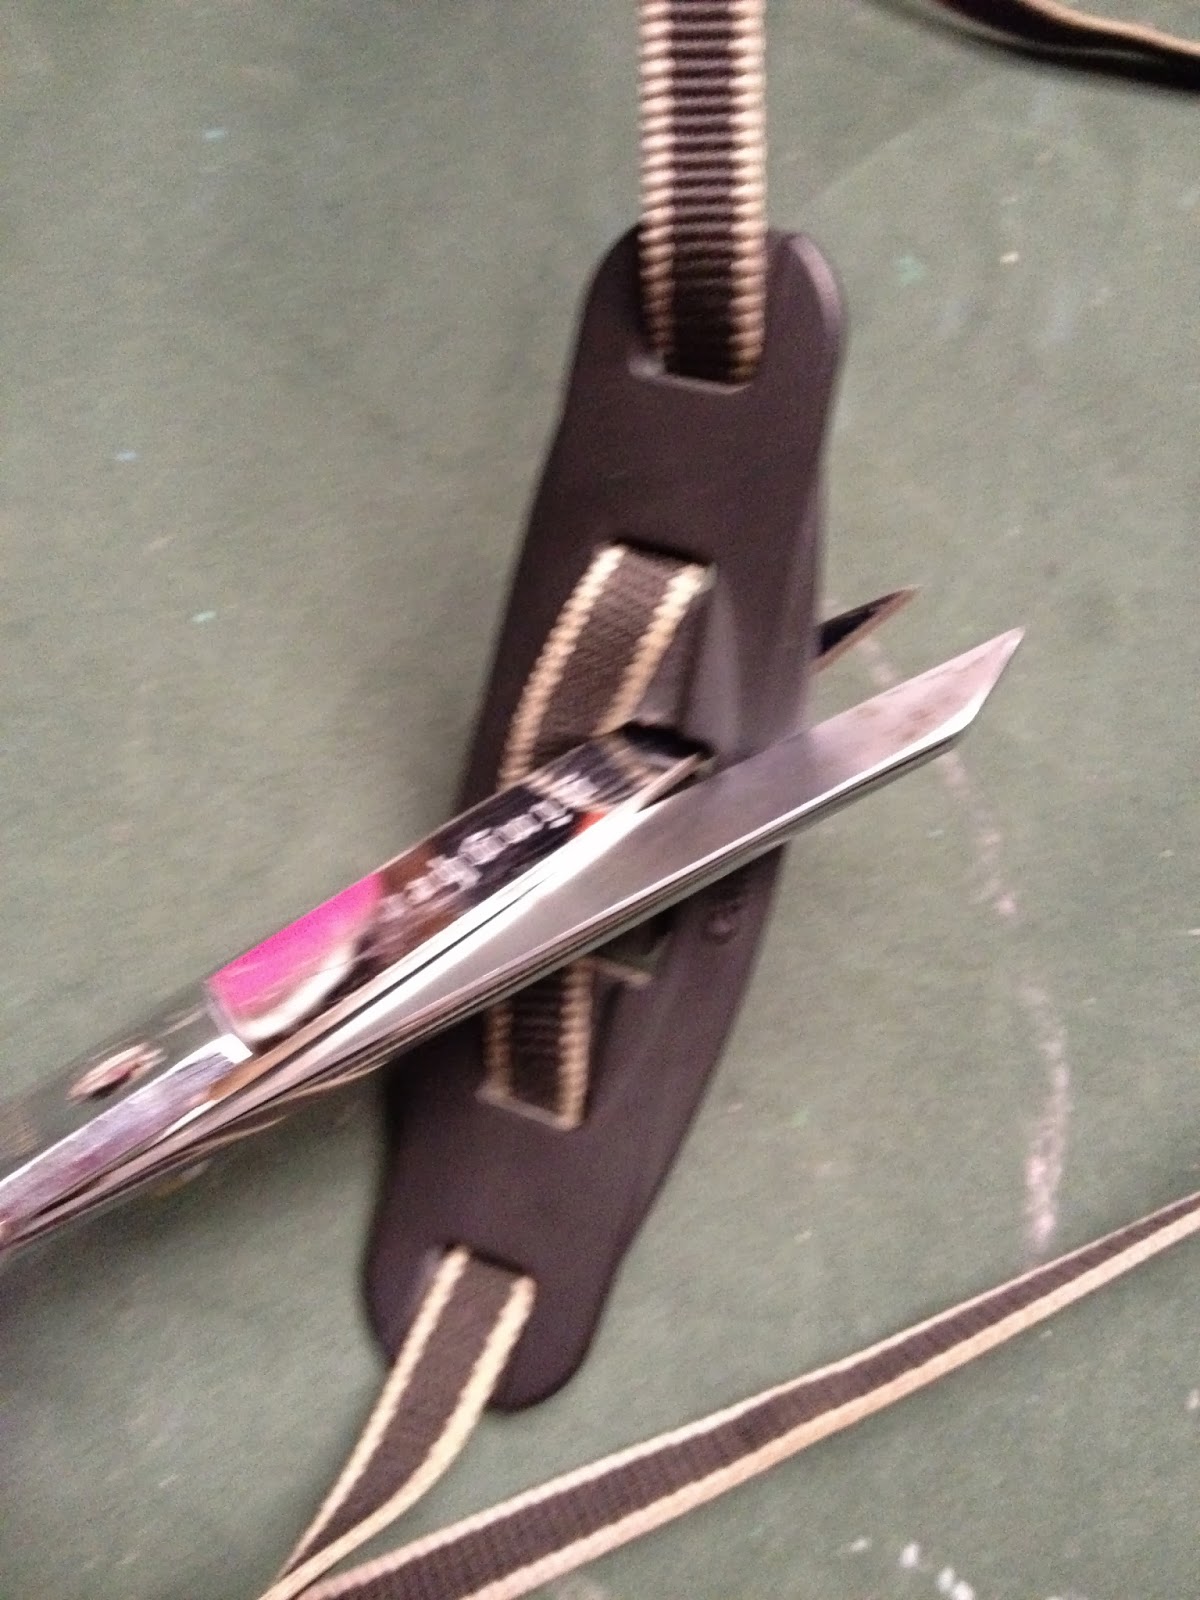
After you have picked the lace or ribbon or fabric, whatever you plan to use put a medium sized amount of hot glue as close as you can to the end of the strap with ought messing up anything important

Now hurry before your glue dries and attach your lace (or other fabric item) to the strap. press down firm but remember the glue is hot and will seep threw the lace so either let it cool down a bit or use something like a popsicle stick or pen to push it down for you.

The rest is pretty self explanatory you just keep rapping the lace around it adding glue every so often so that way the lace doesn't move around on you while you are carrying it.

After you have rapped the hole ting up cut off the extra and put some glue over the top of the lace because it will have some fraying. With a pen or popsicle stick smooth the hot glue all over the end part of the lace to make sure that lace does stay in place and does not fray.

If you like the lace just the way it is than you are done and now have a beautiful strap but if you want to add some more here is how. I sorted out the jewels I wanted and placed them in an easily accessible area because while Im gluing will want to work fast to make sure the glue does not dry because if it is not sticky enough later when you are using it the jewels will fall off.

The rest is again pretty self explanatory. You just glue down each individual jewel in the spacing and area you would like it and let it dry.


Here is the finished product. I love how it turned out.
Something you might want to consider is putting jewels on both sides of it so that way no matter how it flops around the crystals will be showing.
Some variation ideas could be:
- using something other than lace
- not using any fabric first and just gluing down the jems
- using buttons or other little embellishments
- not covering it in anything other than the lace
- spacing the jems differently
No comments:
Post a Comment